
Optimize Your Bike Fit - The Ultimate Handlebar Width & Reach Calculator for Maximum Comfort and Performance
Triathlete and founder of BikeFittr
Reduce guesswork
Want the answer for your own bike?
Use this optimize your bike fit - the ultimate handlebar width & reach calculator for maximum comfort and performance guide as the background, then run a quick BikeFittr check so visitors have a clear next step instead of leaving after reading.
Calculate reach and bar width
Estimate cockpit changes before buying a new stem or handlebar.
Check cockpit fit
Measure back and arm angles from a riding photo.
Run full AI bike fit
Combine cockpit feedback with saddle height and posture checks.
Popular next steps: Check cockpit fit · Run full AI bike fit
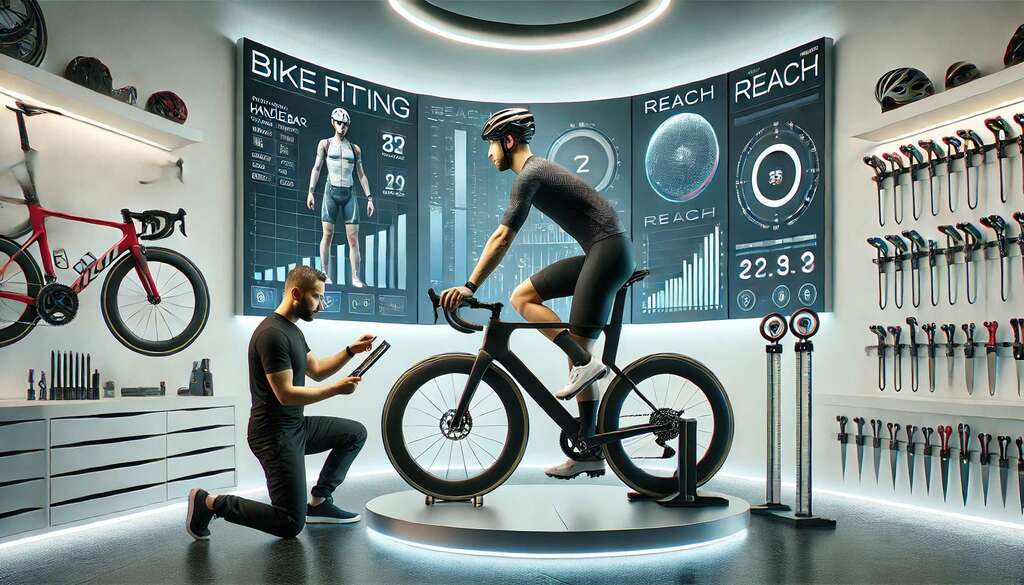
Handlebar Width & Reach: A Data-Driven Guide to Getting Your Cockpit Right
Your handlebar setup controls how much power you produce, how long you can hold your position, and whether you finish a ride feeling strong or broken. Getting width and reach wrong by even a centimeter can cascade into shoulder pain, numb hands, or a back that gives out at kilometer 80.
This guide gives you the actual numbers — handlebar width by shoulder measurement, stem length by torso size, and target angles by bike type — so you can dial in your cockpit with confidence. And if you want the math done for you, try our free Handlebar Width & Reach Calculator.
Handlebar Width by Shoulder Width
Handlebar width should roughly match your skeletal shoulder width (measured center-to-center of your acromion bones at the front of each shoulder). Here are the specific recommendations for drop bars on road and gravel bikes:
| Shoulder Width | Recommended Bar Width (Road) | Notes |
|---|---|---|
| 36 cm | 38–40 cm | Smaller riders, narrow frames |
| 38 cm | 40–42 cm | Most common range for average builds |
| 40 cm | 42–44 cm | Broader shoulders, larger frames |
| 42 cm+ | 44–46 cm | Tall or broad-shouldered riders |
For flat bars on mountain bikes, the convention is different. MTB handlebars are typically shoulder width plus 5–10 cm, landing most riders in the 74–80 cm range. The wider grip provides leverage for technical terrain and better control at low speeds.
Going narrower than your shoulder width improves aerodynamics but restricts breathing — a tradeoff that only makes sense for time trials or short-distance racing. Going wider opens the chest but creates drag and can overload the shoulders on long rides.
If you are unsure about your current handlebar width and how it relates to your cockpit geometry, read more about choosing the correct handlebar width.
Reach: Stem Length by Torso and Arm Length
Reach is the horizontal distance from saddle to handlebars, primarily controlled by frame size and stem length. Your torso length is the best predictor of what stem length you need:
| Torso Length | Recommended Stem Length | Typical Rider |
|---|---|---|
| Short (< 42 cm) | 70–90 mm | Compact build, shorter riders |
| Medium (42–47 cm) | 90–110 mm | Average proportions |
| Long (> 47 cm) | 110–130 mm | Long torso, taller riders |
These are starting points. Arm length matters too — longer arms can tolerate a slightly longer stem at the same torso length. Flexibility plays a role as well: if you cannot comfortably touch your toes, err toward the shorter end of the range.
A personal note: when I switched from a 110 mm stem to a 90 mm on my tri bike, the reduced reach let me sustain my aero position for the entire bike leg instead of sitting up every 15 minutes. The shorter reach kept my hip angle open enough to breathe properly and still produce power. Sometimes less reach is more speed.
Stack-to-Reach Ratio by Bike Type
Beyond stem length, frame geometry defines your cockpit. The stack-to-reach ratio tells you how upright or aggressive a frame positions you:
| Bike Category | Stack-to-Reach Ratio | What It Means |
|---|---|---|
| Race road | 1.35–1.45 | Low, stretched position for speed |
| Endurance road | 1.45–1.55 | More upright, sustainable for long distances |
| Gravel / adventure | 1.50–1.60 | Upright with room for rough terrain |
| Time trial / tri | 1.20–1.35 | Extremely low front end, aero-focused |
A higher ratio means a taller, more relaxed stack relative to reach. When shopping for frames, compare these ratios to understand how a bike will actually position you — they are more informative than generic size labels.
Drop Bar Hand Positions and Angle Changes
Road and gravel handlebars offer three distinct hand positions, each changing your body geometry:
Tops (flat section near stem): The most upright position. Raises your back angle by 10–15° compared to the drops. Good for climbing and easy spinning, but poor aerodynamics. You have less brake access here.
Hoods (brake lever tops): The default riding position for most road cyclists. This is the position our cockpit fitting tool optimizes for, as it is where you spend 70–80% of your ride time.
Drops (lower curved section): The most aerodynamic position. Lowers your back angle by 5–10° compared to hoods and narrows your frontal area. Essential for descending and sprinting but demands good flexibility to maintain.
The difference between hoods and drops can be 15–20° of back angle change. If your fit is marginal on the hoods, you will likely be uncomfortable in the drops — another reason to get your baseline cockpit position right first.
Target Angles by Bike Type
The BikeFittr app uses sport-science-backed angle ranges to evaluate your cockpit position. Here are the targets:
Back Angle (Torso Relative to Horizontal)
| Bike Type | Target Back Angle | Position Description |
|---|---|---|
| Road Bike | 40–50° | Moderate forward lean, balanced |
| Mountain Bike | 50–65° | More upright for control and visibility |
| Triathlon / TT Bike | 20–35° | Aggressive forward rotation for aero |
| City Bike | 70–85° | Near-upright, relaxed commuting |
| Trekking Bike | 55–70° | Between road and city, touring comfort |
Arm Angle (Elbow Bend on Hoods or Aerobars)
| Bike Type | Target Arm Angle | Why |
|---|---|---|
| Road Bike | 85–95° | Slight bend absorbs vibration, allows steering input |
| Triathlon / TT Bike | 70–85° | Tighter tuck on aerobars |
| Mountain Bike | 80–95° | Arms act as suspension, need flex range |
| City Bike | 100–120° | Relaxed, minimal upper body load |
| Trekking Bike | 90–105° | Comfortable for all-day touring |
If your arm angle is consistently below the target range, your reach is too long — you are overextending to hold the bars. If your arms are too bent, the reach is too short and you are cramping your breathing by compressing your torso.
You can measure these angles yourself using our cockpit fitting tool, which uses your camera to detect your pose and calculate back and arm angles in real time.
How Comfort and Performance Trade Off
Every cockpit adjustment is a negotiation between aerodynamics and sustainability. A more aggressive position (lower stack, longer reach) reduces drag but increases the physical cost of holding that position. The right fit depends on your event duration, flexibility, and goals.
For a deeper look at how to balance these factors, read our guide on bike fit comfort vs. performance.
Use the Calculator
If you want specific recommendations based on your body measurements, bike type, and riding style, use our free Handlebar Width & Reach Calculator. The basic mode takes shoulder width and current reach. The advanced mode factors in arm length, torso length, flexibility, saddle offset, and bike type for a more precise result.
For a complete cockpit analysis using your actual riding position, try the BikeFittr cockpit fitting tool — it uses pose detection to measure your angles on the bike and tells you exactly what to adjust.
Try Our Free AI Bike Fitting Tools
Ready to optimize your handlebar setup? Our AI-powered tools analyze your riding position from a photo:
- Cockpit Analysis - Measure your back angle and arm position
- Saddle Height Analyzer - Get your optimal knee angle
- Saddle Position (KOPS) - Check fore/aft positioning
Reduce guesswork
Ready to check your own fit?
Use this optimize your bike fit - the ultimate handlebar width & reach calculator for maximum comfort and performance guide as the background, then run a quick BikeFittr check so visitors have a clear next step instead of leaving after reading.